Scenario 1: CTA Button with Static Link in All Listings Detail Page
To add a Call to Action (CTA) button with a static link in all listings detail pages, you typically follow these steps:
- Access the Editor:
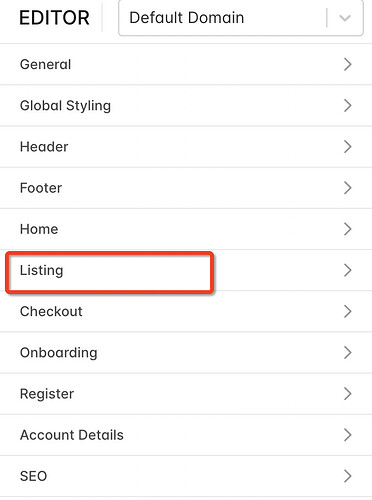
- Navigate to the Tradly Editor where you can customize the listings detail page.
-
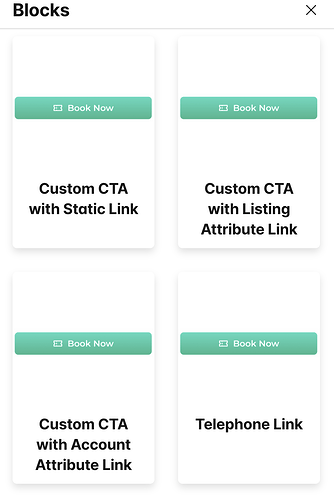
Add or Locate the existing CTA Button Configuration:
-
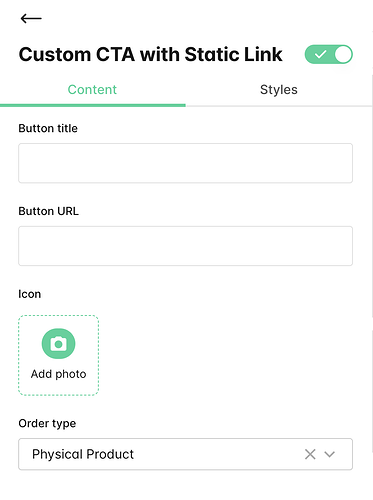
Enter Static Link:
- Provide the static link you want the CTA button in the
button URLto direct users to. This could be a form page or an enquiry page.
- Save Changes:
- Save the changes you made in the editor.
Now, the CTA button with the static link should appear on all listings detail pages. You can also control if you want this to show only for specific listing types (only when you have multiple listing types)
Scenario 2: CTA Button with Dynamic Inputs from Listing Attributes
To create a CTA button with dynamic inputs from listing attributes:
- Access the Editor:
- Go to the editor as in Scenario 1.
- Locate Dynamic Inputs Section:
- Find the section where you can configure dynamic inputs.
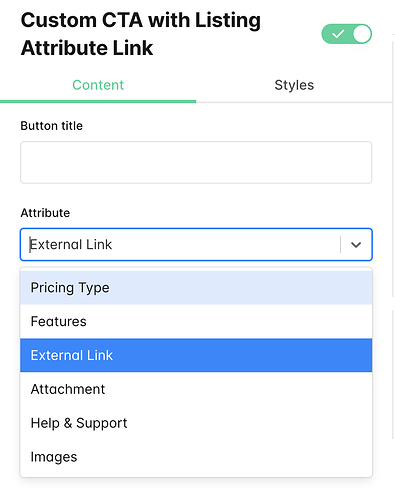
- Select Listing Attribute:
- Choose the listing attribute you want to use as a dynamic input for the CTA button. For example, if you want to create a “Website Link” button, select the attribute that contains the website URL.
- Save Changes:
Now, the CTA button will dynamically take inputs from the selected listing attribute.
Scenario 3: CTA Button with Dynamic Inputs from Account Attributes
If you want to use dynamic inputs from account attributes:
- Access the Editor:
- Open the editor as before.
- Locate Dynamic Inputs Section:
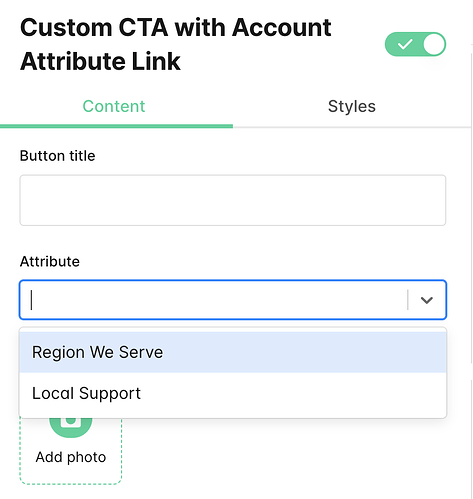
- Find the section where you can configure dynamic inputs, but this time, you’ll be looking for account attributes.
- Select Account Attribute:
- Choose the account attribute that contains the dynamic information you want for the CTA button. For example, if you want a phone number, select the account attribute that stores phone numbers.
- Save Changes:
- Save the changes.
Now, the CTA button will dynamically use information from the selected account attribute.
Always remember to test these changes to ensure they work as intended in the live environment.
